We’ve discussed before that data is our most valuable capital, but without the camera, there is no data. The camera is a photographer’s weapon, their tool of the trade. Photography gear: Taking care of your camera equipment As photographers, it is extremely important for us to take care of our photography gear and keep it in good shape.When your camera works, you work. Smudges on the lens or a spot on the sensor can ruin an image or increase post-production time. Keep your camera out of water and out of humid conditions.
We don’t talk a lot about taking care of our photography gear, so we thought we would take this opportunity. And we’d like to talk about some do’s and don’ts, the best practices to keep your gear in good shape so that you can make the most of it. Whether you haven’t considered cleaning your gear, storing it or treating it while you shoot, this post should give you a start. Let’s take a look!
#1 Get your gear professionally cleaned
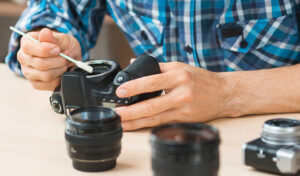
It’s not necessary to do it after every shoot. You should clean your camera and lenses every few months, however. When you get back to your studio after shooting on the beach or at an Indian haldi holi, you should clean your equipment immediately. While cleaning, be very careful not to cause more damage. If you want to clean your own gear every now and then, check out the DIY cleaning tips later in this post.
Twogether Studios mostly uses Fuji Film cameras. One of the perks of being a Fuji brand ambassador is that they organize a service camp every few months to clean our gear. We would still be happy to send our equipment to the service center occasionally even if that doesn’t happen.
#2 Use a dry cabinet to store gear
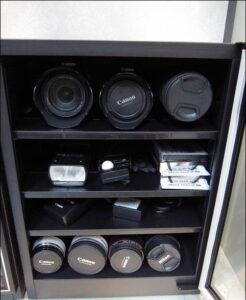
When you’re not shooting, or traveling, where is your gear? Do you store them properly to protect them from humidity, dust, and wear and tear? Your gear’s life depends heavily on the answers to these questions.
Our cameras and lenses are stored in a dry-cabinet that controls humidity and temperature and is dust-proof. If you cannot get a dry cabinet, find a place that is dust and humidity-free. Your camera or lens won’t be knocked off by a careless hand. A big airtight plastic container and silica gel packets can be used to make a DIY dry box.
#3 Protect against physical damage
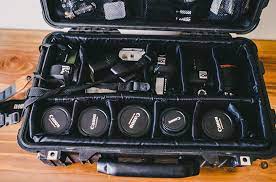
When traveling for your assignments, use good quality camera bags. When shooting on a crowded street, on the dance floor at an Indian wedding, or perhaps even at a haldi where all the family members squeezing in and running around, use your lens hood to prevent scratches and fingerprints. If you shoot directly into the laser beams that run across the dance floor, the sensors can be damaged.
If you are shooting on the beach, take extra care because saltwater can damage your camera. Sand can damage your equipment as well. Cover your equipment with a plastic rain cover. Do not leave your equipment in direct sunlight, even if it does not seem like it will affect you.
harm.
#4 Push your gear within limits
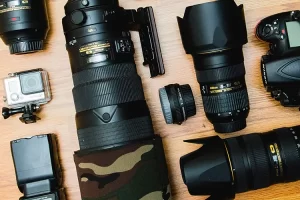
It won’t be damaged much by water, rain, champagne, or haldi since most cameras are weather-sealed these days. Don’t be afraid to shoot and push yourself to be better. You need to clean any dirt or smudge carefully, as we mentioned before.
Even if your camera is weather-sealed, don’t submerge it in water or be careless when shooting near wet/colored/sticky objects.
#5 DYI Cleaning Tips

Using regular soft tissue with a lens cleaner solution is the best way to clean your lenses. If you are shooting, resist the urge to wipe your lens with a t-shirt or tissue. Dust scratches. If your lens has some dirt on it, use an air blower to remove the dust and then wipe the lens with soft tissue and lens cleaner once you are back in the studio. A soft micro fibre cloth and a lens cleaner or a multi-surface cream can be used to clean the camera body or lens body. Spray the solution on the cloth first, and then wipe your gear with it. Your equipment should never be directly sprayed with the solution.
We recommend that you don’t try to replace your camera sensor yourself as it can damage and ruin your camera. You should leave DIY tutorials to the professionals instead of using YouTube.

