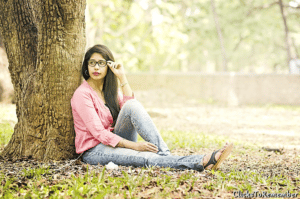
Tips for Low Light Portraits
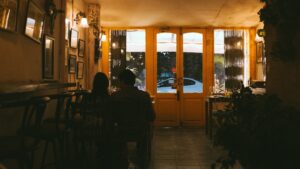
. Shooting portraits in low light requires a keen understanding of light quality and mastering exposure in camera to retain as much detail as possible. We’ve got a list of 10 tips for taking atmospheric and dramatic portraits in low light. If you are taking a low light portrait of yourself, a loved one, a friend or even your pet, you can use these low light portrait tips in many different situations.
1. How to Shoot Group Portraits in Low Light
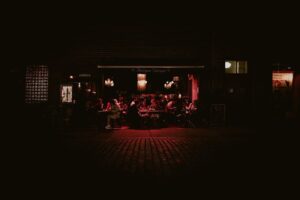
Positioning is crucial when shooting group portraits in low light. As you spread out your subjects, you will need more light – which you may not have. Rather, group your subjects closely together to fall into the main pool of light. Make this look natural at the same time. Consider the spread of light and the best posing shapes.
To gather enough light, widen the aperture. Make sure nothing is clipping in your histogram. To get an acceptable level of sharpness, your F/stop should match the number of people in your group.
2. Camera Setting for Low Light Portraits
When shooting in the dark, it is ideal to have full manual controls on your camera (ideally a DSLR or mirrorless). To achieve your desired exposure, you may need to adjust your aperture, shutter speed, or ISO. Overcompensation may occur in auto or semi-auto modes. Knowing how to take portraits in low light depends on how you adjust your camera settings. Get your aperture set to give you the right depth of field.
The second step is to adjust your shutter speed. If your shutter speed is slower than 1/60th, mount your camera on a tripod. Last but not least, increase the ISO. Having done an ISO test before, you already know what the maximum level is before you see digital noise.
3. Flatter Your Subject in Low Light
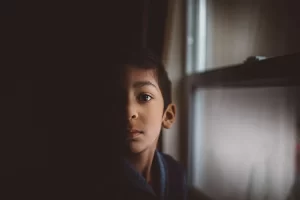
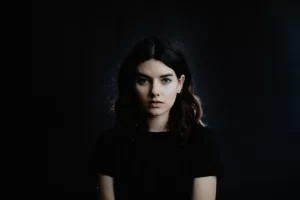
When shooting women’s low light portraits, make sure your subject is flattering. Despite being in the dark, you can still consider beautification. The soft light transitions more gradually across skin, which is more flattering than the hard light.
A white or silver reflector can be used to bounce light around a subject to create a more 3D outline.
Turn your subject’s shoulder towards the camera. This narrows the body and emphasizes the face. In low light portraits, it’s a quick, but effective way to flatter anyone.
4. Suspenseful Dark Photos
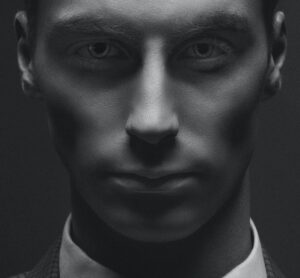
You can also use hard light if you want your photos to look mysterious and foreboding. To create a division in the subject’s appearance, fashion photographers use hard light sources (the sun, an off-camera flash, etc.). A fast transition from dark to light keeps audiences interested.
Ensure that the lighting fits the narrative you are trying to convey. In dark locations, split lighting is a very effective way to create suspense.
Place your subject side on near a light source. Keep their eyes on the camera while they lower their chin. To increase contrast in the light quality, use a smaller aperture (F/8, for example).
5. Creating Drama in Low Light
Dark environments look great with hard light. Portraits can be taken in stormy weather or after the sun has set. Play around with your subject’s position either way.
Place them between the camera and light source to create a silhouette, for example. Otherwise, place them directly underneath a street light to cast their faces in darkness but their bodies in light. They’ll look mysterious but dramatic.
Low light portraits don’t require much technical know-how, just a good eye for where the light falls and how that would translate into a portrait. Try it out if you’re ever unsure.
7. How to Edit Low Light Portraits
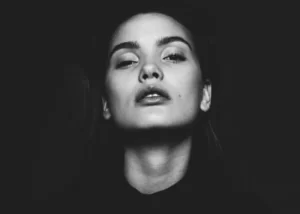
Don’t lift the blacks too much when editing low light portraits. Rather than black pixels, raise the shadows, as they will have more detail. Use noise reduction tools, such as those in Lightroom, to reduce any noisy areas in the darkness. Here’s a little tip for editing low light portraits in Photoshop (or any other software). By reducing contrast slightly, you can brighten and expose more effectively. By doing this, you should be able to avoid extreme low-light portraits.
Discover the best low light portrait photography setting and editing technique for you by experimenting with different settings and techniques.
8. Avoid Action Shots in the Dark
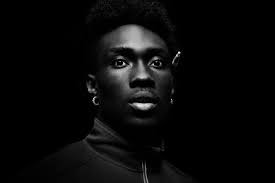
Shooting portraits in low light should only be considered when the subject is stationary. In the dark, asking your subject to move during exposure will only cause you headaches.
A fast shutter speed is required to freeze motion. You may have to open the aperture to the widest point and raise the ISO above clean levels. Capturing frozen motion will only degrade the quality of your overall image, so it’s not worth it.
Action shots should be reserved for brighter conditions. For example, if you want to capture light trails of moving traffic, experiment with a slower shutter speed.
In this way, you can still shoot in low light without increasing the ISO too much. For low light portraits, you’ll need to experiment a bit to find the aperture that gives you the best results.
LOW LIGHT PORTRAITS FAQ’S
Q-1 What Nikon lens should I use for low light portraits?
ANS- A list of Nikon lenses with fast apertures (wide apertures) for shooting at night and in low light has been compiled by us
● Nikon 35mm f/1.8
● Nikon Nikkor 50mm f/1.4
● Nikon 50mm F1.8
● Nikon 85mm f/1.8
● Sigma 70-200mm f/2.8
● Sigma 24-70mm f/2.8
Q-2 Best Canon Lens for Portraits and Low light?
ANS- Taking photos of dimly lit subjects is best with Canon lenses with larger apertures. There are lenses with maximum F/stops of F/2.0, F/1.8, F/1.4, and F/1.2 in this category.
The best Canon lenses for low light photography are listed here.
- The Canon EF 16-35mm f/2.8 lens.
- EF-S 17-55mm f/2.8 Canon.
- The Canon 24-70mm f/2.8.
- The Canon EF 50mm f/1.4 lens.
- The Canon EF 85mm f/1.8.
- The Canon 70-200mm f/2.8 zoom lens.
Q-3 What is the best aperture for portraits taken in low light?
ANS – Three factors determine the outcome;
-
How dim the light actually is where you are?
-
How many people are in your shot?
- How do you want the image to look?


